How to Build a Supply Plan in Excel
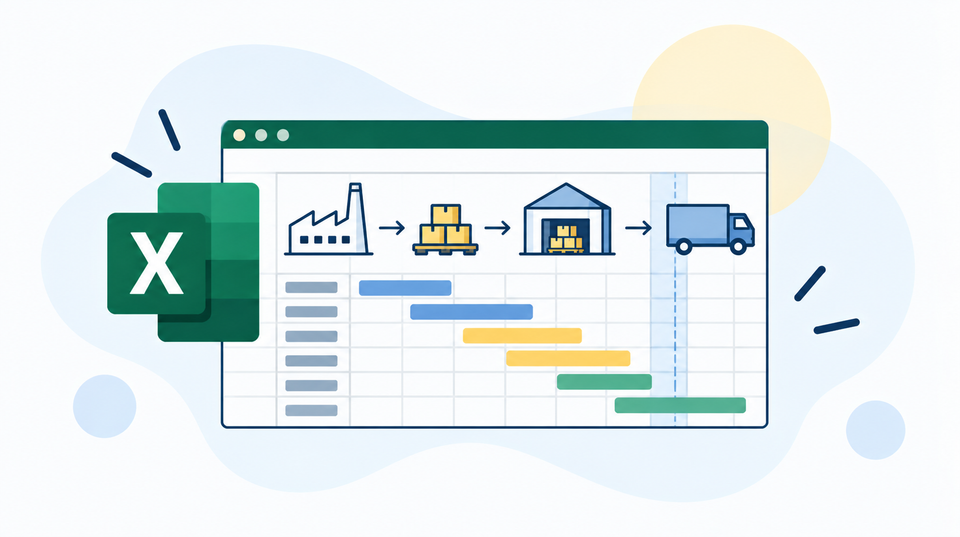
A supply plan doesn't need to be complicated to be useful. At its core, it's a simple balance: opening inventory, plus what's coming in, minus what's going out, rolled forward week by week. Here's how to build one that actually holds up.
The basic structure
One row per SKU, one column per week, with these calculated rows underneath each SKU:
- Opening inventory — closing inventory from the previous week
- Demand — pulled from your demand plan
- Supply / production — what's due to arrive or be produced that week
- Closing inventory —
Opening + Supply - Demand - Weeks of cover — closing inventory divided by average forward demand
That closing inventory row is the engine of the whole model — every week's closing balance becomes next week's opening balance, so build it as a proper rolling formula, not a manually typed number.
Bring in your real constraints
This is where a supply plan earns its keep. Add:
Lead time — how far in advance supply needs to be triggered before it actually lands as inventory. If your lead time is four weeks, a shortage you spot in week 3 is already too late to fix by ordering more.
Capacity limits — a maximum achievable production or purchase quantity per week, per line or per supplier. Compare planned supply against this limit and flag anything that exceeds it.
Minimum order quantities — if a supplier won't ship less than a set amount, your model needs to round up to that, not assume you can order exactly what's needed.
Build in exception flags, not just numbers
A 52-week by 200-SKU grid is unreadable if you have to scan every cell manually. Add conditional formatting or a simple formula-driven flag column that highlights:
- Any week where closing inventory goes negative (a shortage)
- Any week where weeks of cover exceeds a threshold you set (excess stock risk)
- Any week where planned supply exceeds known capacity
This turns the model from "here's a wall of numbers" into "here's what actually needs your attention this week" — which is the difference between a spreadsheet and a planning tool.
Add scenarios once the base model works
Once your core balance is solid, a simple way to add scenario flexibility is a single input cell — a dropdown for Base / Upside / Downside — that adjusts the demand pull-through by a percentage. This lets you stress-test the plan against a demand swing without rebuilding the whole model each time.
Common mistakes to avoid
Treating the plan as static. A supply plan is only useful if it's a living document, refreshed regularly as actuals come in and lead times move. A supply plan you built once and haven't touched in six weeks is closer to a historical record than a planning tool.
Ignoring the frozen horizon. Not every week in your plan should be equally open to change. The weeks within your lead time are largely locked in — changing them is expensive and disruptive. Build your model to visually distinguish the frozen near-term from the flexible further-out weeks, so you don't casually "adjust" something that's actually already committed.
No visibility into why a number changed. When a supply figure moves between versions of the plan, it's worth being able to trace why — a capacity change, a new demand number, a supplier delay. Without that, a supply plan becomes something people stop trusting.
Next in this series: How to build a 13-week supply plan — or see this structure built out fully on real data in the Nerd Foods dataset, which includes production plans, capacity and supplier lead times.




Member discussion